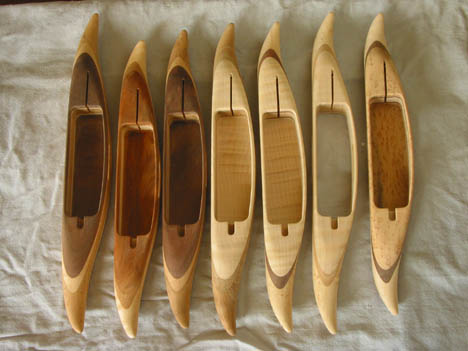
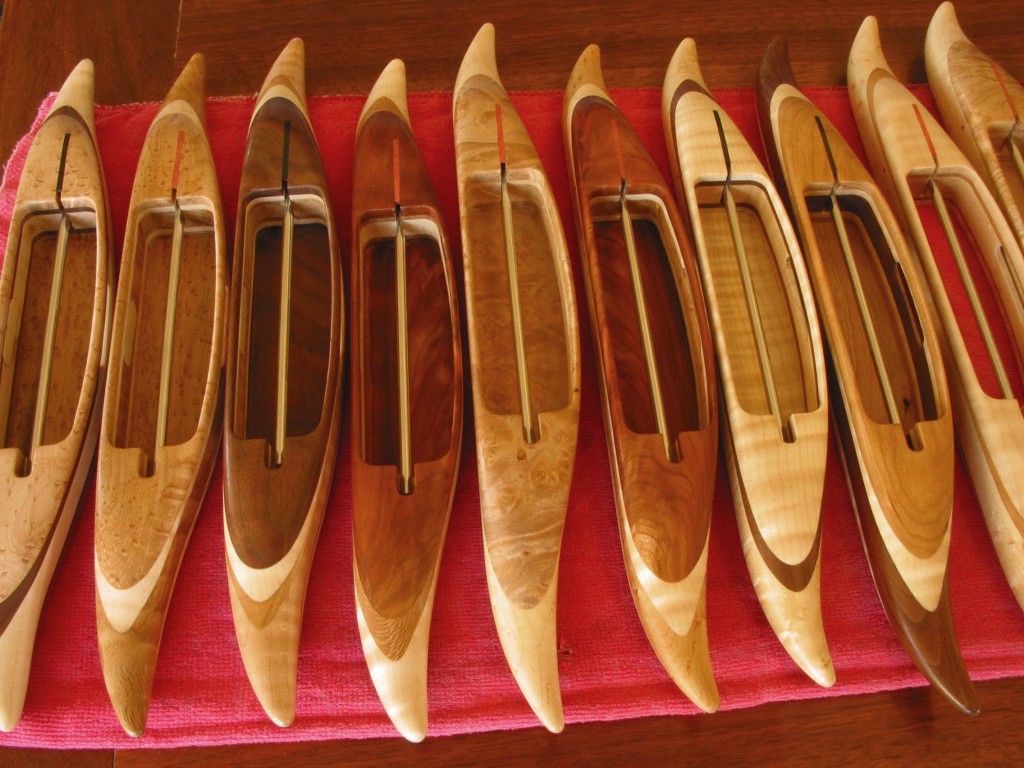
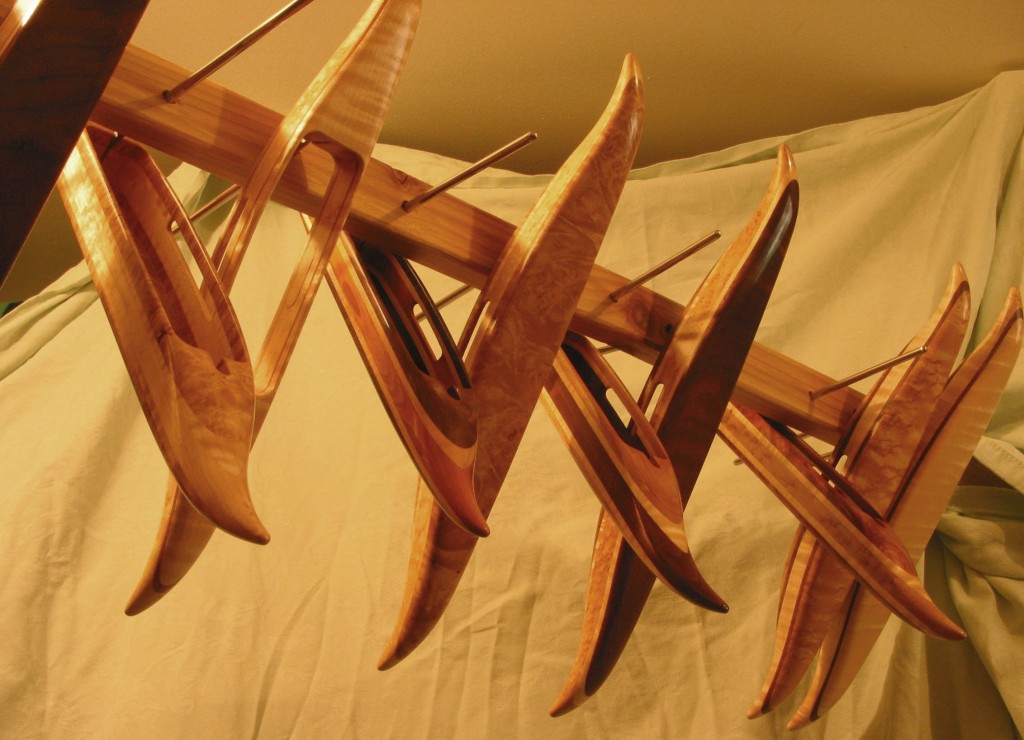
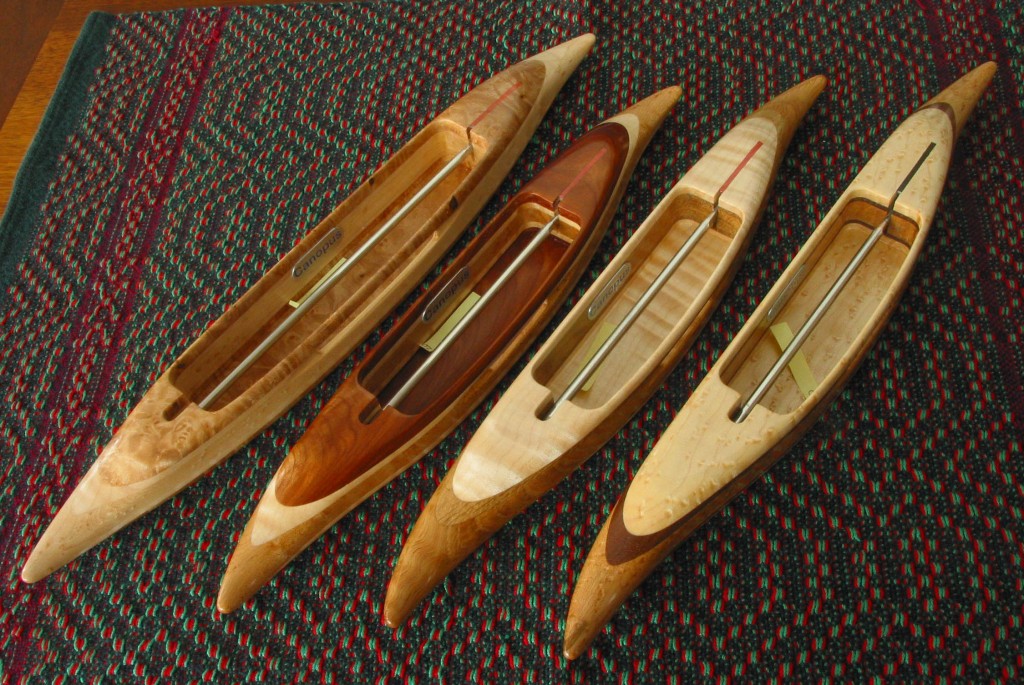
Shuttles are made up of 3 to 7 layers of figured hardwoods. The layers are arranged with symmetry so that the same species is on the top and bottom, and as 1st and 2nd layers. This prevents the shuttle from looking patched together. The layers may have a lot of contrast (light and dark) so that the banding is obvious. They also may be made up of all darker or lighter woods but with different grain so that they stand apart. The following describes some of the steps to make a shuttle.
After the woods are selected, a bandsaw is used to resaw layers to the desired thicknesses. For a clean glue-line, each layer has to be sanded flat to remove obvious machine marks. The layers are then glued together in a block using a waterproof or water-resistant glue (Titebond II or III – both have the same bond strength, but Titebond III has more working-time, and is somewhat more water-resistant). I use highly figured and unusual woods in the shuttles which are stabilized by gluing them in layers.
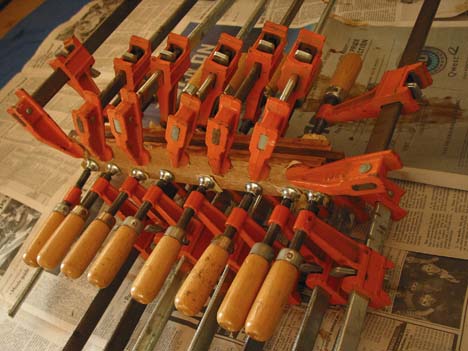
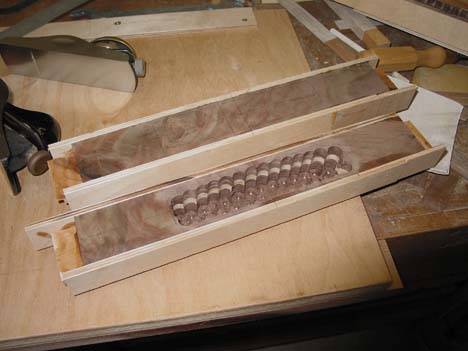
The end result after gluing is a rough block:
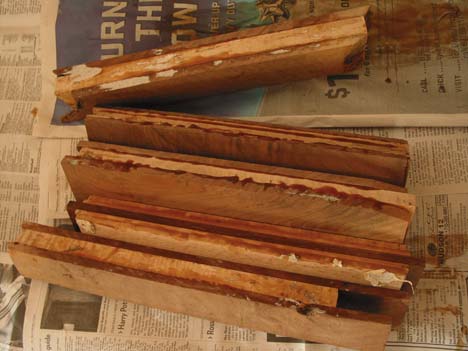
After cleaning up the rough block, a template is used to mark the location of the cavity on top, and most of the waste is removed with a drill press:
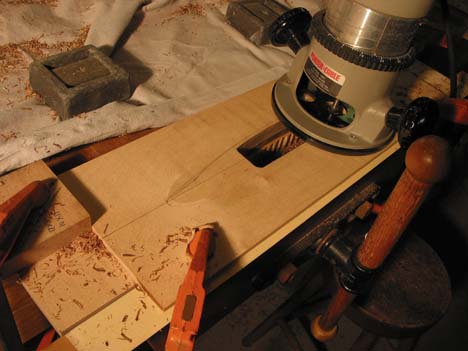
A pattern bit in a router is then used in a custom template to remove the rest of the waste in the cavity:
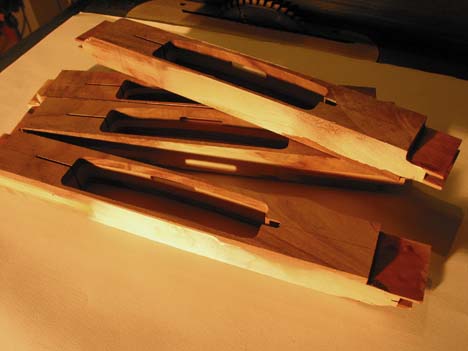
The bobbin-end slot, spring slot, and yarn hole are then machined around the cavity:
The pin hole and spring hole are drilled out. Both require special jigs for accuracy. The basic shuttle shape, marked with templates, is roughed out on a bandsaw, and the rough curves are smoothed with a stationary disk sander and spindle sander:
The front and rear edges of the shuttle are then shaped initially with a pattern file or a round microplane rasp. Coarse wood rasps should never be used as they can knock out chunks of wood especially if the wood grain is convoluted. Microplanes leave a surface easier to clean up than the deep furrows left by regular wood rasps. In the end, the primary rounding ‘tool’ to get the curved shapes is a torn-off strip from a used sanding belt (from a belt sander). Extensive sanding and shaping are done up to about 220-grit sandpaper in preparation to install rods:
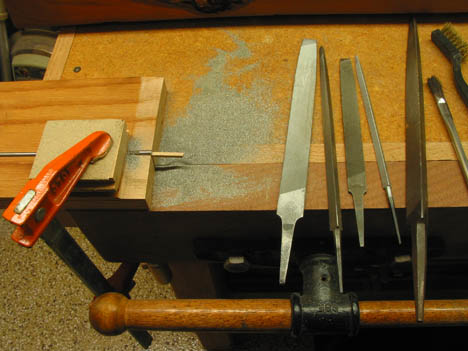
Metal-working is also involved with making a shuttle. Stainless steel round bar is cut to length, and one end is rounded on a grinder. The other end of the rod has to be flattened by hand on two sides using a chainsaw file initially, and then triangular and flat metal files so that it will fit in the slot where it will be pinned in place with a steel pin. The rods are first sanded with 80 or 100 grit sandpaper to remove manufacturing and machine marks. They are then fine sanded and polished using 180 through 2000 grit sandpaper.
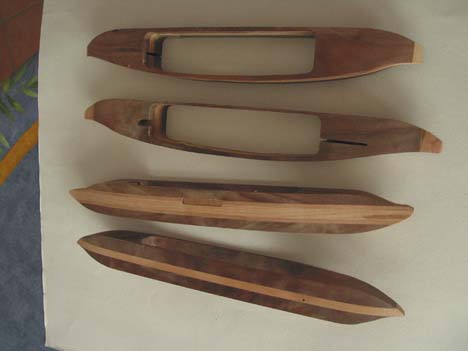
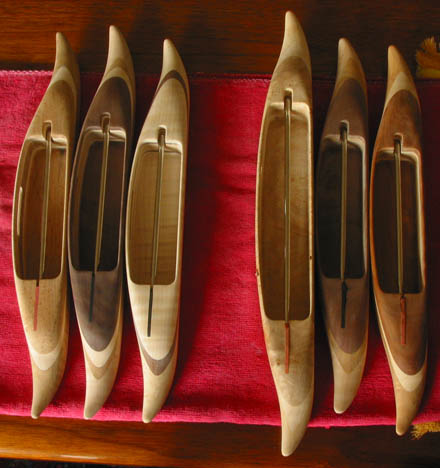
Springs, rods, and pins are inserted into shuttles using a special jig, and the slot containing the spring mechanism is covered either with ebony (black) or pink ivory (pink or red). The shuttles to the left (photo below) have the coverings sanded even to the shuttle top; the ones to the right show the coverings after they are first glued in place. After the coverings are sanded flat, they are carefully glued (epoxied) underneath, and the shuttles are turned upside-down while the glue is drying. This is to help prevent tear-out of the coverings by the rod action.
The shuttles are then sanded from 220-grit to 2000-grit. After 600-grit paper, the shuttles have to be handled with cotton gloves to avoid stains picked up from skin oils from the hands. Final sanding is 1000, 1500 and 2000-grit (auto-body sandpaper) which burnishes the wood and makes it shiny. These super-fine sandpapers will show most leftover scratches from previous grades of paper because of the powdery dust produced, and these scratches are eliminated by re-sanding with paper coarse enough to remove the defect back through 2000-grit. This sanding process is repeated once after applying sanding sealer (see below), and up to twice more after initial layers of oil-based urethane are applied.
For finishing, first a coat of sanding sealer (blonde shellac in this case) is applied to all surfaces to bring out the grain, and fill the fine pores. Sanding sealer usually raises some of the wood fibers slightly, and will almost always show any left-over sanding scratches from previous (coarser) grits of sandpaper. So after drying overnight, the shuttles are examined for missed scratches and repeat sanding is done in these areas starting with a grit coarse enough to remove the scratches through the final 2000-grit.
Next, 6 coats of oil-based urethane are applied, drying for 24 hrs. in between coats. I use clear urethane to avoid the yellowing effect common to varnishes and polyurethane finishes. The 1st 2 coats will often show additional scratches that need to be removed because the scratches can more easily be seen under the initial shiny coats of urethane. Any re-sanding results in additional urethane coats being applied.
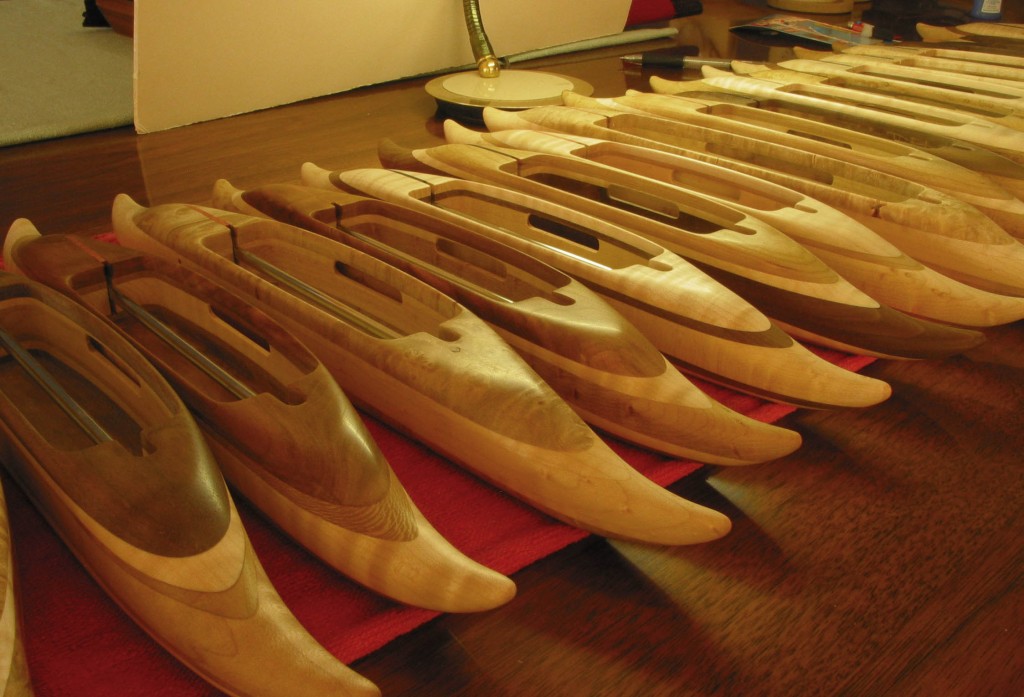
Finally, 3 coats of carnauba wax are applied to each shuttle, and the “Canopus” nameplates are glued in with 2-part epoxy. The end result is a glass-smooth and slippery surface bringing out the best of the wood grain, and making it much easier for the shuttle to slide through the warp shed.

